The spring ritual your pavers need — and most people skip.
Every April, pavers tell you how the winter went. A one-afternoon maintenance pass now — joints, edges, efflorescence, weeds — saves a repair bill in July. Here’s the checklist we walk on every property.
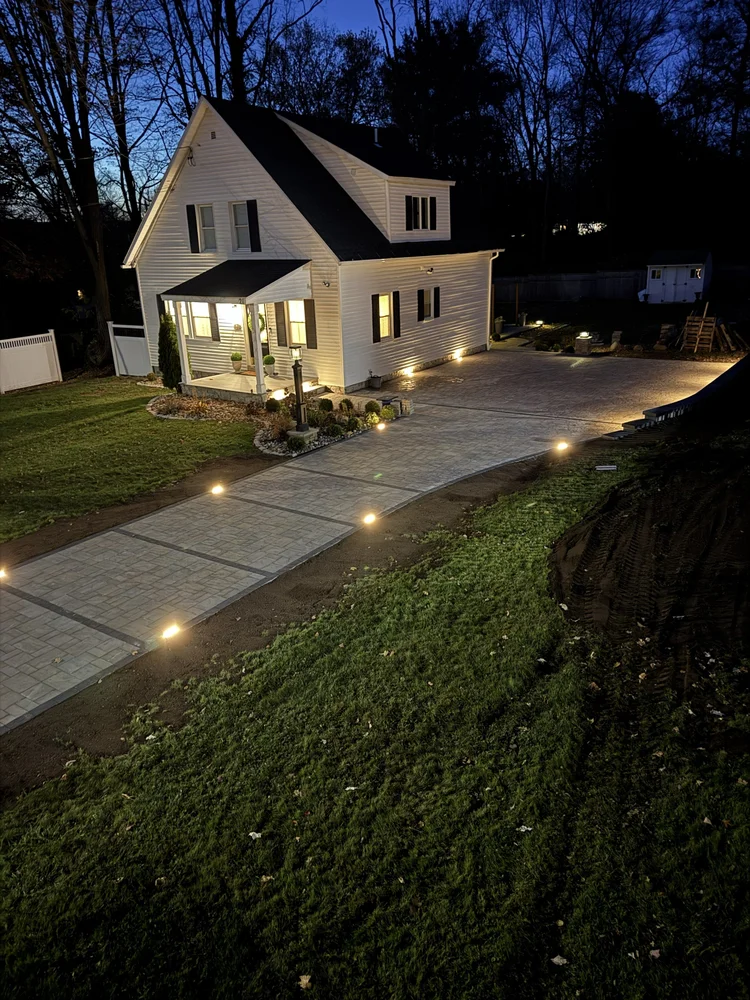
Every April, your pavers tell you exactly how the winter went. You just have to know how to read them. Efflorescence blooming white across the surface, a joint or two that sank overnight, polymeric sand washed thin by the melt, the first green shoots in the cracks — it's all there. The good news: a single afternoon of maintenance right now saves you a real repair bill come July. Here's the checklist our crews walk on every property, in the order we walk it.
Start with a walk around the perimeter
Before you touch a broom or a hose, walk the whole patio, walkway, or driveway slowly and look at it. Connecticut winters put pavers through the wringer — the ground freezes, thaws, freezes again, and every cycle shoves things around. That's frost heave, and it doesn't care how good the original install was. You're hunting for movement.
Get low and sight down the surface at a shallow angle. Small dips, high spots, and lippage — where one paver sits proud of its neighbor and catches a toe or a chair leg — show up clearly when the light rakes across. Watch for:
- Low spots where water pools instead of running off. Standing water is the enemy — it's what freezes and heaves next winter.
- Pavers that rock when you step on one corner. The base under them settled or washed.
- Edges and transitions — steps, thresholds, where the hardscape meets the lawn or a foundation. Movement starts at the edges.
Mark anything that moved. A single settled paver you catch in April is a quick lift-and-relevel. The same spot ignored until July is a whole section pulled up and re-based.
Sweep it, then wash it — gently
Now clear the surface. Sweep off the winter grit, sand, leaf mush, and whatever the plow or shovel left behind, including the loose stuff sitting on top of the joints.
Then wash — and here's where a lot of homeowners go wrong. Do not walk out there with a pressure washer set on high and blast the joints. It's the fastest way to strip the polymeric sand right out and chew up the surface of the paver itself. Once those joints are empty, water gets under the pavers and the whole system starts to loosen.
Use a garden hose with a spray nozzle, or a pressure washer on a wide fan tip held well back and moving. A little mild soap and a stiff broom handles most of the grime. Clean, not surgically blasted.
The joint sand is what holds the whole thing together. Blast it out and you've turned a patio into a pile of loose stones waiting to shift.
Rebuild the joints and check the edges
Refill the polymeric sand
Once the surface dries, look hard at the joints. Polymeric sand — the stuff that hardens up when you wet it — is what locks the pavers together and keeps water and weeds out. Over a Connecticut winter, freeze-thaw and snowmelt runoff quietly wash some of it away. You can tell it's gone when the joint sits noticeably below the top of the paver, or when you rake a screwdriver through it and it's loose and crumbly.
Refilling it is straightforward if you work in order:
- Make sure the pavers and joints are fully dry. Damp sand clumps and won't flow into the gaps.
- Pour the polymeric sand over the area and sweep it diagonally across the joints so it packs down. Keep sweeping and adding until the joints are full to just below the paver chamfer.
- Blow or brush every last grain off the paver faces. Sand left on the surface will haze and stain when you wet it.
- Mist it with water per the bag's directions — a light activating spray, not a flood. Too much water floats the binder up. Let it cure fully before you walk on it or let it rain.
Check the edge restraints
Pavers are only as stable as what's holding them in from the sides. Edge restraints — the plastic or metal edging, or the concrete haunch buried along the outside of the field — keep the whole assembly from spreading, and freeze-thaw is brutal on them. Heaving can lift spikes and push edging loose.
Walk the outside edge and check that everything is still tight to the pavers and pinned down. If you see edging that's pulled away, spikes backing out, or border pavers starting to fan apart, that's your priority fix. Re-secure it before the pavers migrate, because once the perimeter goes, the interior joints open up right behind it.
Deal with the first weeds, moss, and ants
Spring is when the joints try to come alive. Those first weeds in the cracks almost never grew up from the base — they seeded from windblown dirt that settled on top over the year. Same with moss in the shady corners and ants tunneling where the sand went loose.
Pull the young weeds now, roots and all, while they're small and the joint sand around them is intact. Moss usually clears with a stiff broom and a little cleaner. But the real fix for all three is the step you just did — full, firm joints. Ants and weeds move into loose, empty sand; keep the joints packed and you take away the invitation.
The crew's rule
Never seal or refill joints over anything living. Clear the weeds and moss first, let the spot dry, then re-sand and seal. Trap a root or a damp patch under fresh sand or sealer and it just comes back stronger.
About that white haze — usually don't panic
If you see a chalky white film spreading across your pavers in spring, that's efflorescence, and nine times out of ten it's nothing to worry about. It's natural mineral salts inside the concrete working their way to the surface as moisture moves through — and after a wet Connecticut winter, moisture has been moving through plenty. It looks alarming, but it isn't a defect.
Most efflorescence fades on its own over a few weeks as the pavers dry out and rain rinses it. If you want it gone sooner, there are efflorescence cleaners made for exactly this. What you should not do is attack it with harsh acid or a heavy pressure wash — you'll damage the surface fighting something that was going to disappear anyway.
Reseal on the right schedule — not every year
Sealer is the last line of defense. It helps lock the joint sand in, resists stains, and slows water from getting where it shouldn't. But you don't reseal every spring, and you shouldn't. As a rule of thumb, plan on resealing roughly every three to five years, depending on the product, the traffic, and how exposed the surface is.
The tell is simple: splash a little water on the pavers. If it beads up, your sealer is still working — leave it alone. If it soaks in and darkens the stone, you're due. Do it on a dry stretch of weather, over clean pavers with full joints. Sealing over a dirty surface or empty joints just locks the problem in.
The bottom line
Pavers are one of the most durable things you can put in your yard, but a Connecticut winter still works them hard, and spring is when the damage is small, visible, and cheap to fix. Walk the perimeter, sweep and wash gently, refill the joints, check the edges, clear the weeds, don't panic over the white haze, and reseal only when the water tells you to. One afternoon now is the difference between a patio that lasts decades and a repair call in July. That's the whole ritual — and it's the one most people skip.
Thinking about a project this season?
Free, no-pressure on-site quotes across Hartford County, CT.
Let's build something that lasts.
Hardscaping, landscaping and snow removal across Hartford County, Connecticut. Licensed (HIC.0703177) and fully insured — free quotes on every project.